


A well-optimized, technically beautiful single-target staining sings out your experimental result with the clarity of a soloist in a silent auditorium. Staining more than one antigen on the same specimen, on the other hand, is a lot like a group of musicians weaving harmonies over the original melody. This simultaneous visualization of multiple targets empowers the exploration of scientific complexities such as spatial relationships, intracellular signaling, or the tumor microenvironment. Curious about composing your own immunohistochemical symphonies? You’re in luck: experimental rock star Dr. Craig Pow broke down the basics of multiplex immunohistochemistry in a recent webinar. You can watch the full webinar Multiplex Immunohistochemistry — Expand Your Insights, Improve Your Results or read on for his tips and tricks.
Adding a second antigen target to your existing single-label staining protocol can feel intimidating. You might be concerned about complex methodologies, cross-reactivities, or spending late nights in the lab as you painstakingly optimize your double-labeling experiments. Fortunately there’s no need to fret: Vector Laboratories makes it simple to get your double staining in tune with the ready-to-use ImmPRESS® Duet Double Staining Kit. To use this kit, you’ll need to supply and apply one mouse and one rabbit primary antibody to bind your targets of interest. ImmPRESS Duet provides everything else needed, including a mixture of secondary antibodies conjugated to highly active horseradish peroxidase (HRP) and alkaline phosphatase (AP) enzyme polymer detection reagents plus contrasting HRP/AP enzyme substrates to develop your signal. To get the best results with this kit, your tissue specimen must come from a human or nonhuman primate species and your antigens shouldn’t completely overlap at their site of localization. Can you envision what this duet could help you uncover?
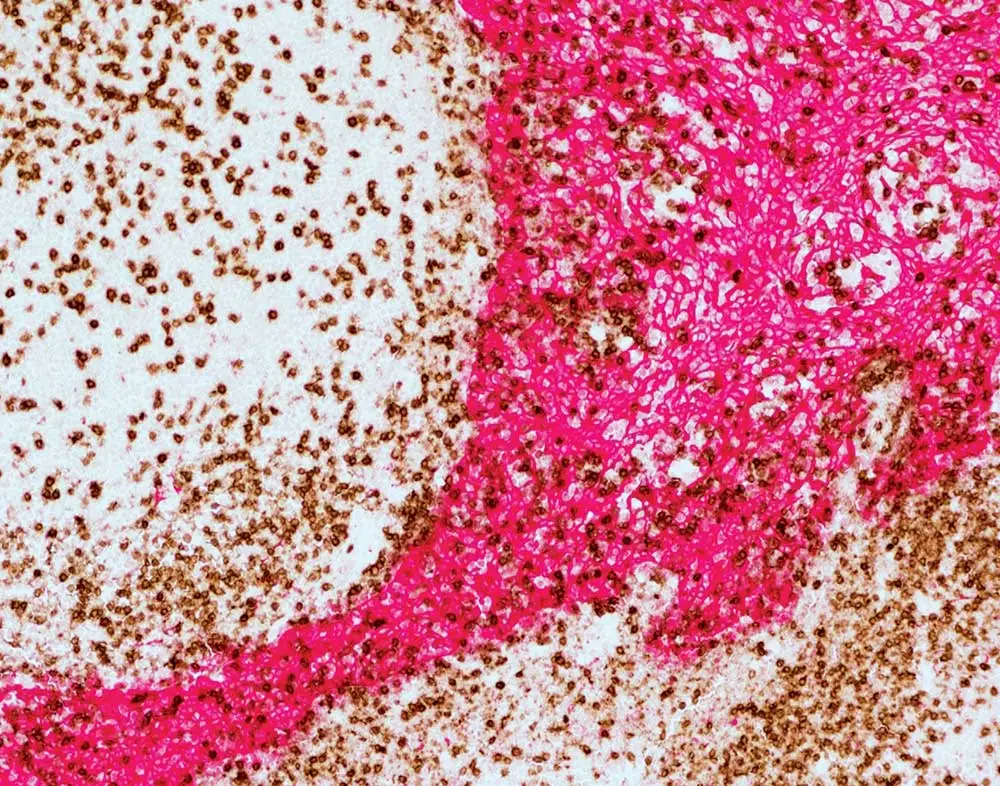
If your workflow won’t allow you to use the ImmPRESS Duet Double Staining Kit – maybe you’re working with rodent tissue, or your primary antibody was raised in goat or hamster – don’t worry! We have plenty of tips that will help you add a second or third label to your existing single-label protocol. First, Dr. Pow recommends always individually optimizing each label on different tissue sections. Once you feel confident that all your separate, single-target staining is performance-ready, it’s time to combine them into a multiplex IHC staining. However, you won’t put these labels together randomly: just like the orchestra director, you’ll give careful thought to the elements of your experimental composition. Consider the species of the primary antibody or antibodies already in your combo, the primary antibodies that you’d like to add to your staining, and the species of your tissue, ensuring that the entire group is compatible. You’ll also need to confirm that each of your antibodies has been specifically validated for immunohistochemistry, and that it recognizes the target antigen in your tissue species.
Cross-reactivity can generate serious discord by yielding false staining results, and it may arise due to many different aspects of your prep. For example, if you’re working with mouse tissue sections and your staining protocol already includes a primary antibody raised in goat or in rabbit, keep in mind that you won’t be able to add a primary raised in mouse. The anti-mouse secondary antibody would be unable to distinguish between the mouse primary antibody to the target and the endogenous mouse immunoglobulin within the tissue, leading to false staining. This type of cross-reactivity can also arise when working with xenograft mouse models, such as a cancer model with a human tumor grown in a mouse. While the tumor itself is human-derived, it will be vascularized with mouse blood vessels and contain mouse immunoglobulin. Therefore, it is highly probable that applying an anti-mouse secondary antibody to sections of this xenograft tissue would produce background staining.
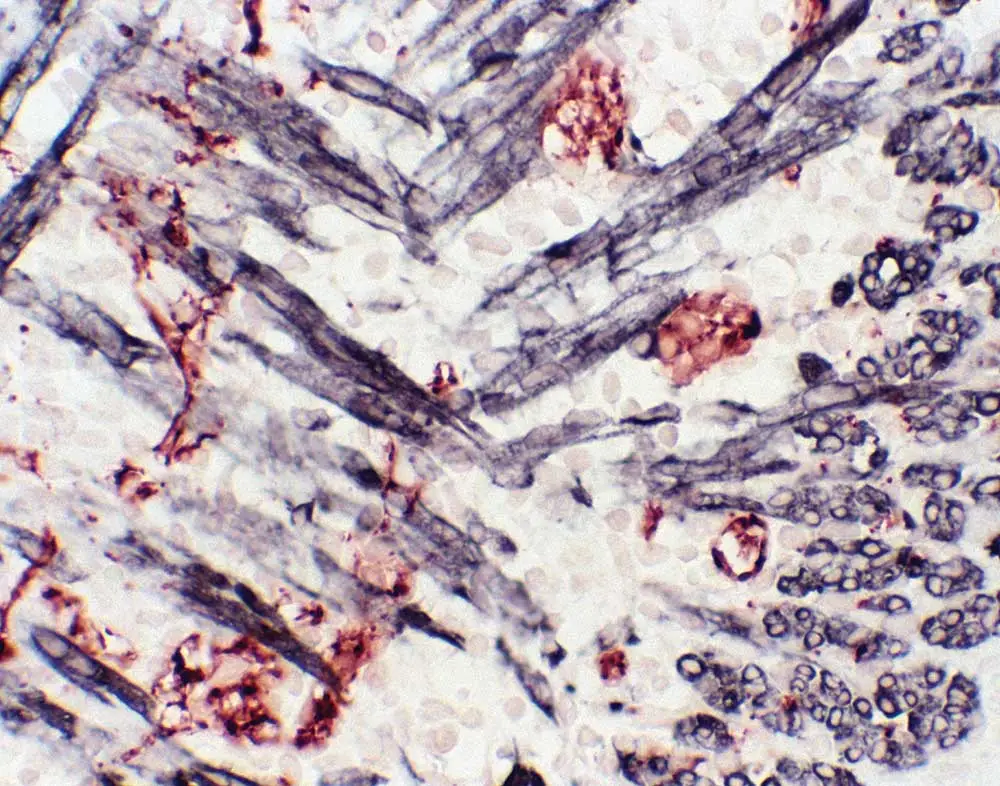
Mouse-on-mouse is merely one type of interference commonly encountered by multiplex immunohistochemistry DJs. Anti-rat and anti-hamster secondary antibodies also have a degree of cross-reactivity with mouse tissue because they are from closely related rodent species. To eliminate the likelihood of sticking to immunoglobulins from off-target species, a great choice—if you want to use a rat primary on mouse tissue—is to use mouse-adsorbed anti-rat secondary antibodies that have undergone an additional purification step. If hamster-mouse interference is striking up dissonance, try adding a small amount of mouse serum to your diluted anti-hamster secondary antibody and let it sit on the bench for 30-60 minutes. This work as an in-house purification step, where the mouse serum absorbs any parts of the anti-hamster antibody likely to bind mouse immunoglobulin, and gives you a cleaner result when you then apply it to your mouse specimen.
Goat primaries have been climbing the charts lately, but Dr. Pow has a word of caution for those of you using these popular antibodies. “Goat has significant cross-reactivity—50 to 100%—with bovine IgG or sheep IgG,” he explains. Any sheep or bovine serum in your prep (perhaps as a low-grade BSA introduced in a diluent or due to cell culture) will probably bind an anti-goat secondary antibody, so take special care to avoid these potential contributors to background noise.
Finally, you’ll want to watch out for interference caused by incompatible secondary antibodies. Using two secondary antibodies raised in the same species is no problem (for example, a goat ant-mouse and a goat anti-rabbit), but some secondary antibody combinations have a high likelihood of cross-reactivity. Multiple staining with one anti-mouse secondary raised in goat and one anti-goat secondary raised in rabbit is an example of these sorts of discordant pairings. The anti-goat secondary will stick to the antibody raised in goat, meaning the two antibodies will cross-react with each other—rather than bind to your target. That doesn’t mean you have to give up on goat: if changing the species of your antibodies isn’t feasible, you can split up those competing divas by running the staining sequentially. First, apply the goat anti-mouse secondary antibody and continue with your experimental workflow through to the precipitation of your first enzyme substrate, then repeat the stain with the rabbit anti-goat secondary antibody all the way through development. The chromogenic multiplex methodology is particularly well-suited to sequential staining because the substrates precipitate out as solids at the site of localization and effectively place a ‘protective shell’ over the first set of detection reagents. This protection largely eliminates cross-reactivity with secondary detection reagents.
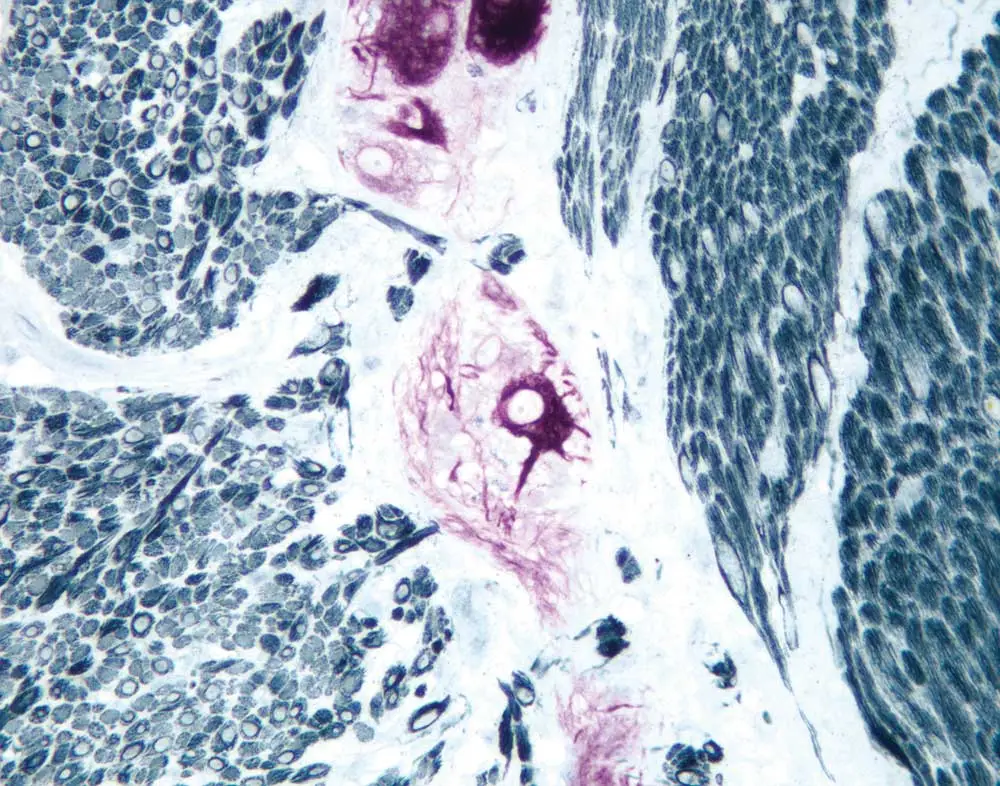
Now that your antibodies are in accord, it’s time to think about enzyme detection reagents and substrates. Consider the level of expression that you expect from your second and third target antigens. A highly sensitive detection reagent and substrate are good choices for an upregulated antigen or one of unknown expression, while something like a one-step polymer system (for example, the ImmPRESS One Step Polymer Kit) works well for an abundant antigen. Much like string and brass instruments are best suited to their own roles within an orchestra, the unique characteristics of precipitate and colors of enzyme substrates help you meet different experimental goals. Peroxide-based substrates yield a dense, punctate precipitate and are particularly useful for intracellular or membrane labeling. If your interest is instead in tissue architecture and morphology, you will want to get your specimen ready for the bright lights with the more diffuse and transparent alkaline phosphatase-based substrates.
Clashing endogenous enzyme activity can take your staining from silver-toned to cacophonous, but Dr. Pow has a solution. Typically, peroxidase is the cause of this experimental quandary, so he suggests switching to two alkaline phosphatase-based
detection reagents. “That way, you’d sidestep quite easily the requirement of having to block persistent enzyme activity,” he says. You can further enhance the crystal-clear demarcation of your target antigen by combatting inherent or endogenous pigmentation, which could be confused with positive staining. Endogenous melanin (for example, in a melanoma) is nearly impossible to differentiate from traditional peroxidase diaminobenzidine (DAB) staining. The trick is to contrast your substrate color with any inherent pigmentation that you expect to see in your specimen so that you can easily identify its true positive staining.
Will your stained specimen need to return for an encore, or is it trying to hurry on to the next stop on the tour? If you just want to mount your section quickly and plan to throw the slides away shortly after imaging, aqueous-based mounting medium is a great choice. However, if archiving your stained specimen for future review is important, dehydration followed by permanent mounting will enable you to keep it in long-term storage. Regardless of your project needs, Vector Laboratories has a wide selection of enzyme substrates in different colors that are compatible with both aqueous and permanent mounting. While some of you are ready to explore the rainbow of possibilities, Dr. Pow makes it simple for those who are just getting started. “If you do have a single label already in place, you’re probably using the most common IHC substrate, DAB, and a peroxidase-based methodology. That’s great because DAB works well with pretty much everything,” he explains. It’s fine to exercise a little artistic freedom as you design your multiplex palette—just remember to choose contrasting colors for clear, unequivocal staining of multiple antigen targets.
With this insider knowledge, your multiple antigen staining will be ready to face the music pronto. For even more tips and tricks from Dr. Pow and the team at Vector Laboratories, watch the full-length immunohistochemistry multiplex webinar, or dig into our immunohistochemistry and IHC multiplex guides for more information.





Stay in the Loop. Join Our Online Community
Products
Ordering
About Us
Application
Resources

©Vector Laboratories, Inc. 2025 All Rights Reserved.
To provide the best experiences, we use technologies like cookies to store and/or access device information. Consenting to these technologies will allow us to process data such as browsing behavior or unique IDs on this site. Not consenting or withdrawing consent, may adversely affect certain features and functions. Privacy Statement