
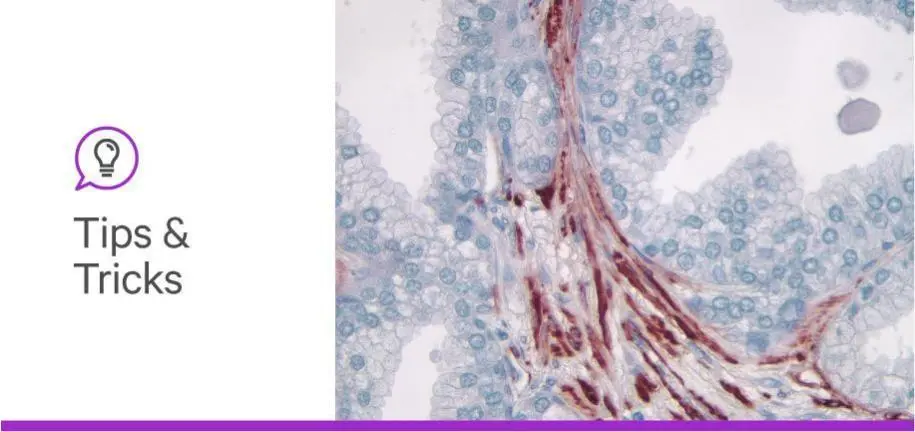
Immunohistochemistry (IHC) and immunofluorescence (IF) are widely used across the life sciences—in cancer research, immunology, neuroscience, cell biology, and histopathology—to help elucidate protein expression in cell and tissue specimens. And while these are well established and widely adopted techniques, when working with biological specimens, you can encounter common problems, such as background interference, lack of specificity, weak signal, or poor reproducibility.
In a recent webinar with The Scientist, Dr. Craig Pow, presented helpful tips and tricks for improving IHC and IF staining results. You can watch the full on-demand webinar or keep reading for some tips and tricks from the Q&A session.
While the workflows for IHC and IF do have several similarities, it is can be a little bit like comparing apples and oranges. It is exceedingly difficult to draw a straight-line comparison between the two different applications.
Immunohistochemistry can be executed with a one- or two-step methodology followed by enzyme substrate detection with signal amplification, all while providing greater sensitivity with the two-step method.
Conventional immunofluorescence on the other hand, provides exceptionally fine, exquisite detail, depending on what you need to examine and hope to resolve.
For example, when studying subcellular localization, with multiplexing and immunofluorescence, you can easily colocalize expression of antigens in the same cell compartment of the same cell. You also can choose to implement amplified immunofluorescence approaches to increase sensitivity, for instance by opting to use VectaFluor™ Excel antibodies that can increase sensitivity by as much as three- to four-fold over fluorophore-conjugated secondary antibodies.
The use of peroxidase-based methodology, alongside a substrate such as 3,3′-diaminobenzidine (DAB), is probably the most used approach. It deposits a nice discrete colored precipitate for single protein detection. However, if you are working with tissue that contains endogenous peroxidase activity, such as highly vascularized material, you may need to add a quenching step. Quenching of the endogenous peroxidase can be managed by incubation with hydrogen peroxide solutions (3% H2O2 in water, 0.3% H2O2 in methanol) or commercial convenience products, such as BLOXALL® Endogenous Blocking Solution, Peroxidase and Alkaline Phosphatase. While quenching can be effective, it does add more steps to the staining process.
For some tissues, switching to an alkaline phosphatase approach can circumvent the issues of persistent peroxidase activity. As an added benefit, the diffuse and translucent color of alkaline phosphatase substrates can better provide a clear view of the underlying tissue morphology. Alkaline phosphatase (AP) detection also provides a choice of several colors. For example, if you’re working with tissue with inherent pigmentation or melanoma, additional substrate color options for alkaline phosphatase detection enable broader spectrum staining in magenta, blue, indigo, and black. You can leverage these colorful options with double or triple staining. Explore protocols for chromogenic multiplexing in our IHC Multiplexing Guide.
Autofluorescence or endogenous fluorescence may be inherent to your tissue or preparation method. It may arise from different cell types or multiple factors. For example, collagen, elastin, and red blood cells are particularly notorious for autofluorescence. Aldehyde-based fixatives, such as formalin, paraformaldehyde, or glutaraldehyde can induce autofluorescence. TrueVIEW® Autofluorescence reagents help diminish unwanted autofluorescence and dramatically improve signal-to-noise ratio.
TrueVIEW reagent is typically used after the secondary antibody incubation and subsequent washes. The reagent is applied for about two to five minutes, and then the sections are washed with PBS prior to mounting with anti-fade media.
While there’s no definitive answer for this, you will need to choose whatever is effective to help reduce toning, background, and remove the unbound material from your tissue preparation. At Vector Laboratories, we usually run two to three washes (2-5 minutes each) in between incubations. If you use thicker tissue sections, longer washes are required. Three to five washes (10–20 minutes each) are not unheard of for thicker sections, embryos, Xenopus, or zebrafish. Your best approach will start with these recommendations and optimize the steps to see what works best for you.
Probably the best negative control for most would be to apply an irrelevant antibody, meaning something that will not bind to anything in your tissue preparation. Let’s say that you work with NeuN or GFAP on CNS or brain tissue. You know there won’t be any stratified keratinized epithelium in your tissue prep. In this scenario, you could select a primary antibody against stratified keratinized epithelium, raised in the same species as the isotype, at the same concentration, and then use typical detection reagents after that. This negative control would show that the primary antibody isotype from that species is not being bound inadvertently by some tissue or contributing to the staining.
Other negative control options may be used, such as if you’re researching a knockout model and you can test your antibody on that tissue. Or pre-immune serum, which is serum extracted from the animal prior to antibody immunization, could be applied instead of the primary antibody as a validation control to check for non-specific binding. Another control would be to incubate the primary antibody with the immunogen used to generate the antibody, but this approach may not be practical for those who use commercial antibodies.
Watch our on-demand Technique Talk webinar for more tips on identifying and eliminating sources of non-specific staining, as well as the appropriate controls to use. And be sure to check out our IHC Resource Guide and IF Resource Guide to help you navigate the workflows and select reagents.




Stay in the Loop. Join Our Online Community
Products
Ordering
About Us
Application
Resources
©Vector Laboratories, Inc. 2025 All Rights Reserved.
To provide the best experiences, we use technologies like cookies to store and/or access device information. Consenting to these technologies will allow us to process data such as browsing behavior or unique IDs on this site. Not consenting or withdrawing consent, may adversely affect certain features and functions. Privacy Statement