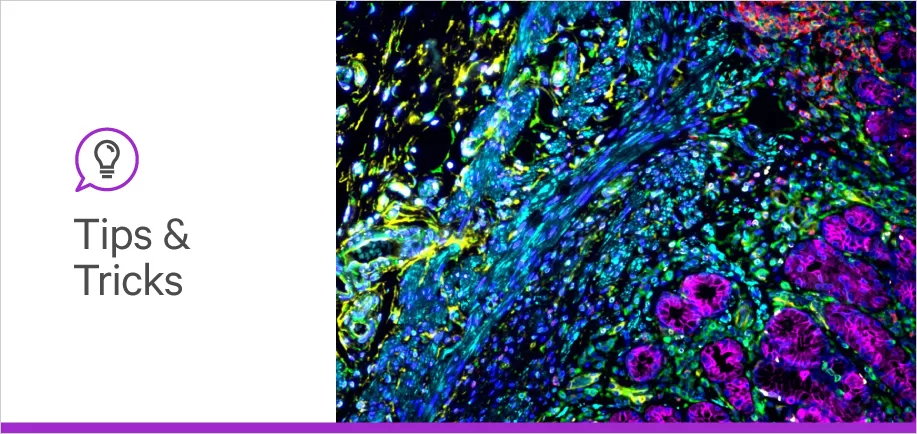

Multiplexing, a powerful technique that allows the visualization of multiple biomarkers within a single sample, has revolutionized the field by offering researchers valuable insights into the spatial context of complex cellular processes and interactions. By analyzing multiple targets in the same specimen, researchers can obtain a holistic view of their tissue while conserving precious sample. However, performing multiplex assays can be challenging. Cross reactivity between detection reagents can often limit reagent choices and circumventing this by directly labeling primary antibodies can lead to altered antibody function and loss of specificity. Thankfully, VectaPlex™ Antibody Removal Kit comes to the rescue, simplifying the multiplex workflow, preserving tissue integrity, and enabling multiple rounds of staining without reducing target availability.
VectaPlex Antibody Removal Kit is a versatile solution designed to remove antibodies and other non-covalently bound reagents from formalin-fixed paraffin-embedded (FFPE) tissue sections after staining in both immunofluorescence (IF) and tyramide signal amplification workflows. The kit’s gentle yet efficient removal process preserves tissue integrity and morphology through multiple cycles of antibody binding and removal, ensuring that it maintains the quality of the samples throughout the entire process. Read below on how exactly to use the VectaPlex kit.
Note: We recommend using a mounting medium containing DAPI during each staining cycle for the IF workflow to facilitate image alignment.
Note: You can register and overlay images from successive staining cycles using free software such as Fiji.
It is important to note when using the VectaPlex reagents that mixing with bleach may result in formation of a hazardous gas. For this reason, do not mix reagents or waste solutions from this process with bleach, and use reagents in a well-ventilated area using appropriate laboratory personal protective equipment (PPE).
The VectaPlex Antibody Removal Kit offers a range of benefits that make it an indispensable tool for multiplex workflows, such as:
We hope that this blog post has provided you with valuable insights into the VectaPlex Antibody Removal Kit and its significance in simplifying multiplex workflows. By following the user-friendly steps outlined above, you can effectively remove antibodies and non-covalently bound detection reagents, allowing you to achieve your multiplexing goals with ease.
For more resources and tips on enhancing your multiplexing endeavors, check out our IHC Multiplexing Resource Guide, the IF Guide, and other tips and tricks available on our blog.


Stay in the Loop. Join Our Online Community
Products
Ordering
About Us
Application
Resources

©Vector Laboratories, Inc. 2025 All Rights Reserved.
To provide the best experiences, we use technologies like cookies to store and/or access device information. Consenting to these technologies will allow us to process data such as browsing behavior or unique IDs on this site. Not consenting or withdrawing consent, may adversely affect certain features and functions. Privacy Statement