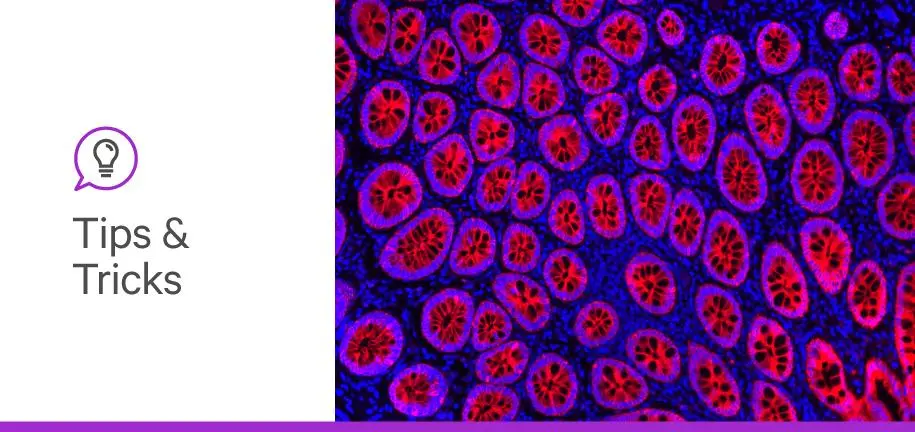

Have you ever attempted to get immunofluorescent image of a tissue section only to be met with a black image on the microscope? Your tissue section might be the victim of photobleaching.
What is photobleaching? Photobleaching happens when a fluorophore permanently loses its ability to emit a fluorescent signal and occurs as a byproduct of the mechanisms underlying fluorescence emission (1,2). Each fluorophore can undergo a different number of excitation and emission cycles until they permanently stay in an excited state and lose the ability to emit fluorescence (1,2) As photobleaching happens, it becomes increasingly difficult to image an IF experiment. This progressive reduction in signal intensity also increases the possibility of false-negative results and reduces the feasibility of experiments targeting quantitative analyses.
Taking precautionary measures when mounting and visualizing immunofluorescence (IF) experiments is essential to protect the fluorescent signal from photobleaching. This blog post will walk you through strategies in four different categories to protect your immunofluorescent tissue section from photobleaching. Keep reading for tips, and if you need help with other steps in the IF mounting process, be sure to check out our Immunofluorescence Mounting Guide.
The higher the intensity of the light used during specimen visualization, the quicker electrons go through multiple cycles of excitation and emission, directly contributing to photobleaching. Light intensity refers to the power of the light source, also known as its brightness. Thus, one of the most straightforward strategies to reduce photobleaching and extend the life of the fluorophore is to reduce the intensity of the light during imaging (3).
An easy solution to reducing photobleaching in mercury and xenon-arc lamps is to use neutral-density filters. These accessories reduce light intensity by a given percentage that varies from filter to filter. For example, a neutral-density filter with 80% transmittance allows only 80% of the light to reach the sample.
Alternatively, fluorescence microscopes can use manually adjustable LED lamps as the light source. With either the addition of filters or manual light intensity reduction, fewer protons reach the sample, resulting in less excitation and a dimmer image. Keep in mind, reducing the light intensity might not be worth it if longer exposure is required to acquire an image with an appropriate fluorescent signal.
Exposure is the time the camera shutter needs to remain open to properly image the specimen. Longer exposure yields brighter images but also increases the amount of light reaching the sample and accelerates photobleaching. Shorter exposures can result in dim images.
When reduced exposure results in a dim, unsuitable image, increasing the gain function of the photomultiplier can help increase the overall signal intensity. Gain measures the amplification of the signal reaching the camera sensor. Higher gain yields a brighter image while keeping the light intensity and exposure constant. This approach increases camera sensitivity to light in a non-selective way, which means that background noise will also become brighter. In addition, higher gain can also contribute to reduced image resolution. Therefore, the perfect balance between light intensity, exposure time, and gain should be determined using a test section while keeping tissue type, target protein, and fluorescent dye constant.
Using an objective with a wider aperture is one final approach to increase the amount of light reaching the sample. Objectives with a high numerical aperture allow more light to reach the sample, and as a result, the researcher can reduce light intensity, exposure, and gain and still acquire an image with adequate signal intensity. Keep in mind, wider apertures can also result in a smaller depth of field, which can be beneficial or detrimental, depending on the objectives of the experiment.
Different fluorophores have varied susceptibility to photobleaching. Newer generations of fluorophores, such as AlexaFluor® and DyLight, have more stable structures and are less susceptible to photobleaching than traditional fluorophores such as FITC, TRITC, and Texas Red™ (4). Changing the type of fluorophore is a straightforward strategy to reduce photobleaching during image visualization.
When performing multi-color staining, the researcher should select fluorophores with minimal spectral overlap, otherwise a single channel can excite multiple fluorophores with overlapping excitation spectra, leading to bleed-through and photobleaching (1,2). Manufacturers often report the excitation and emission spectra for each fluorophore, and this information should be carefully considered when designing an experiment. Choosing fluorophores with narrow excitation and emission spectra can also help reduce overlap. Many free online tools are available to help with fluorophore selection for multi-color staining.
Fluorophores also vary in their sensitivity to light—they require different intensities of light to yield a fluorescent signal with similar strength. Thus, when considering all the factors influencing the choice of fluorophores, the best option combines good sensitivity and less photobleaching.
Fading is another word commonly used to describe photobleaching. Thus, mounting media that confer protection against photobleaching are known as antifade mounting media. Adding these reagents during the mounting process is the most effective way to prevent photobleaching.
Antifade mounting media prevent the reaction of excited electrons with other molecules and thus extend the number of excitation/emission cycles they can undergo (5). In addition, mounting media maximize fluorophore signal strength, requiring lower light intensity and exposure for optimal specimen visualization (5).
Other benefits of mounting media include preservation of tissue morphology and improved image quality (6). As many different options for mounting media are available, researchers should be aware of the many factors influencing the final choice and their impacts on the final results. To learn more about selecting the right antifade mounting media, check out our blog post How to choose antifade mounting media.
We hope the above tips were helpful and get you on the road to better immunofluorescence images. For more tips and tricks to improve your IF staining, check out our IF Resources Guide and watch the video below on how to coverslip your IF slides to protect your fluorescence.
Watch the below video for tips on coverslipping your immunofluorescent slides.


Stay in the Loop. Join Our Online Community
Products
Ordering
About Us
Application
Resources

©Vector Laboratories, Inc. 2025 All Rights Reserved.
To provide the best experiences, we use technologies like cookies to store and/or access device information. Consenting to these technologies will allow us to process data such as browsing behavior or unique IDs on this site. Not consenting or withdrawing consent, may adversely affect certain features and functions. Privacy Statement