
Vector Laboratories is closed for the President’s Day on Monday, February 19th. We will be back in the office on Tuesday, February 20th.
We will respond to emails upon our return. Have a wonderful day.
Menu
Vector Laboratories is closed for the President’s Day on Monday, February 19th. We will be back in the office on Tuesday, February 20th.
We will respond to emails upon our return. Have a wonderful day.
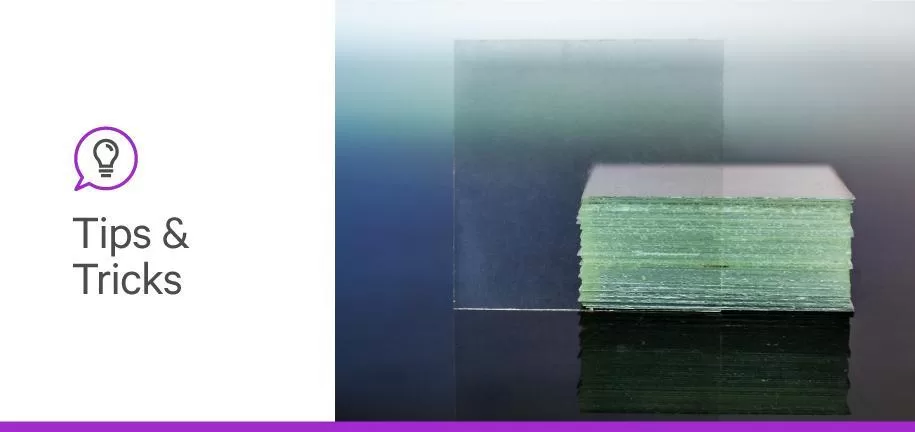
You want the best slides possible for your staining experiments. A lot of hard work is done to make sure your sample is preserved under the proper conditions after harvesting, grossing, and staining. At the end of the staining protocol when it’s time to view your slides and image under a microscope, or save them for a later date, it’s important your tissue samples are protected. That’s where coverslipping comes into play.
Although coverslipping is the last step in the staining process, its importance cannot be understated. Properly coverslipping your slides ensures that your tissue specimens are preserved for optimal imaging and viewing.
In this blog post, we will walk you through how to properly coverslip your slides to protect your samples. Be sure to also watch the video at the end of the blog post to see how to mount your slides.
When you reach the end of your staining process, the protocol usually requires you to run your slides through a series of clearing agents, such as xylene. If you are not going to immediately coverslip your slides, you should leave them in the solution. This will prevent your slides from drying out and losing the stain you worked so hard to obtain.
For some IHC protocols, such as H&E, leaving your slides in the solution for hours after staining is okay. If you’re doing an IF protocol, you should aim to coverslip as soon as possible to preserve your fluorescent signal.
Once you are ready to coverslip your slides, you should remove the excess clearing agent. This can be done by removing your slide from the solution and gently dabbing the slide vertically against an absorbent material such as a Kimwipes™, paper towel, etc. You can also use the same absorbent material to remove excess from the back of the slide so it is easier to handle.
After removing the excess clearing agent, you should immediately mount your slides with the appropriate mounting media. When adding the media, take extra care not to introduce air bubbles in order to prevent having bubbles in your images when you photograph them later. You should also be mindful of how much mounting media you’re using. You should use enough mounting media to cover the specimen, but not so much that excess media will leach outside of the coverslip.
It is important when applying the coverslip that you do so as gently as possible. Using too much force can tear your specimen and cause artifacts on the slide. To gently apply the coverslip, hold the top and bottom of the slide in one hand between your thumb and index finger. You can do this vertically or horizontally. Using your other hand, angle the bottom edge of the coverslip to a 45-degree angle at the bottom of the slide. Slowly and gently lower the coverslip onto the slide so it covers the sample.
In using this technique, not only do you reduce the possibility of damaging the tissue, but you reduce the air bubbles that might occur underneath the coverslip. If there are any air bubbles present, you can gently press the coverslip to expel them, but be careful not to press too hard or do this directly on the sample as this can damage the tissue.
Optional step: Depending on the mounting media you use, you may need to seal your coverslip. If you use a mounting media such as VECTASHIELD® Antifade Mounting Media, sealing the coverslip is not necessary.
In just a few short steps, you can properly coverslip your slides and have peace of mind that your samples are preserved for whatever your experimental needs are. For other tips and tricks for your slides, check out our Staining Sample Prep Guide as well as other blog posts.
Check out this video to see how to properly coverslip your slide and get high quality slides for viewing.




Stay in the Loop. Join Our Online Community
Together we breakthroughTM

©Vector Laboratories, Inc. 2024 All Rights Reserved.