
Vector Laboratories is closed for the President’s Day on Monday, February 19th. We will be back in the office on Tuesday, February 20th.
We will respond to emails upon our return. Have a wonderful day.
Menu
Vector Laboratories is closed for the President’s Day on Monday, February 19th. We will be back in the office on Tuesday, February 20th.
We will respond to emails upon our return. Have a wonderful day.
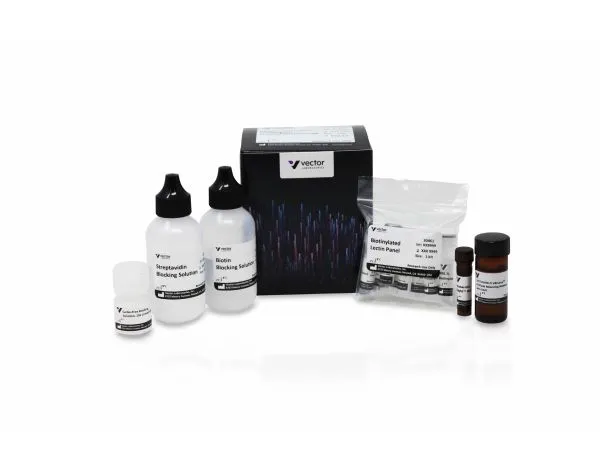
Glysite Scout Glycan Screening Kit, Immunofluorescence kits contain the following biotinylated lectins:
In addition to the glycan binders, the kit includes optimized immunofluorescence reagents for glycan detection, including biotin, Carbo-Free, and streptavidin blocking solutions, 10x concentrate of DyLight™ streptavidin, and VECTASHIELD Vibrance® Antifade Mounting Medium with DAPI.
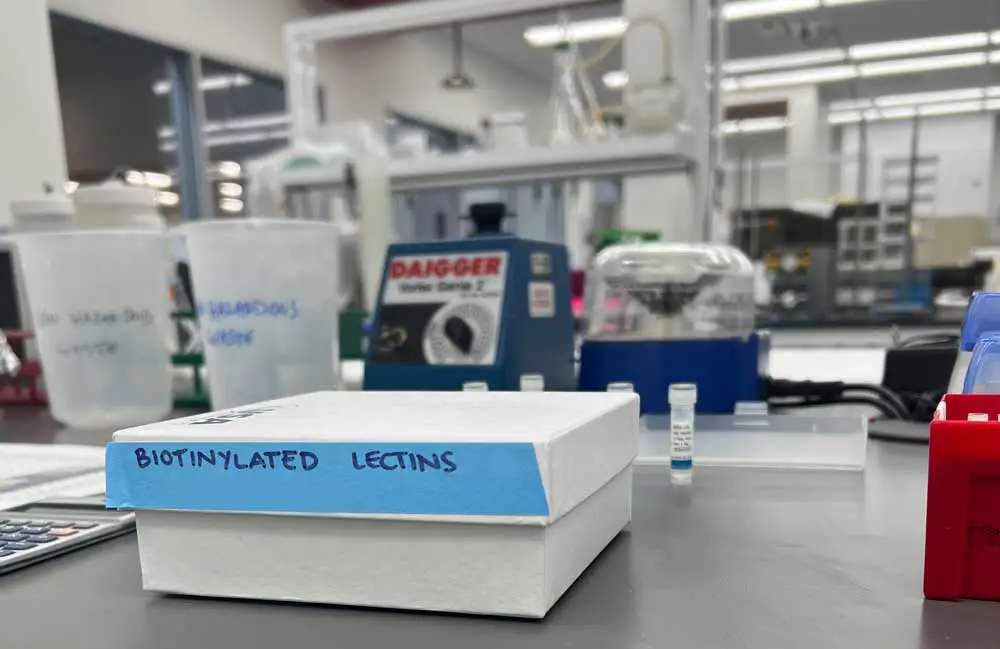
You will want to prepare dilutions of all your working solutions before starting the protocol. The dilutions are as follows:
If you are using paraffin sections, you will need to deparaffinize and hydrate your tissue sections through xylenes or other clearing agents and graded alcohol series.
If you are using frozen sections or cell preparations, you will need to fix your tissue sections with acetone or an appropriate fixative.
Tip: Be sure to consider antigen retrieval for epitope unmasking. If it is required, perform this procedure using an Antigen Unmasking Solution, Citrate-based, pH 6.0 (H-3300) or Tris-based, pH 9.0 (H-3301).
Tip: We recommend you use the ImmEdge® Hydrophobic Barrier PAP Pen to provide a heat-stable, water-repellent barrier that will keep your reagents localized on the tissue specimens and prevent mixing of reagents when multiple sections are mounted on the same slide.
Before blocking your samples, you will need to rinse for 5 minutes in tap water.
If your specimen contains endogenous biotin, biotin receptors, or streptavidin binding sites, you will need to perform a streptavidin/biotin block.
Tip: When performing the wash steps, we recommend you tip off excess solution and give a quick rinse in buffer before placing your slides in the buffer jar for 5 minutes.
After performing a streptavidin/biotin block (if necessary), you will need to block for non-specific binding.
Tip: Other blocking solutions may contain glycoproteins that interfere with lectin binding, so we recommend using the Carbo-Free Blocking Solution included.
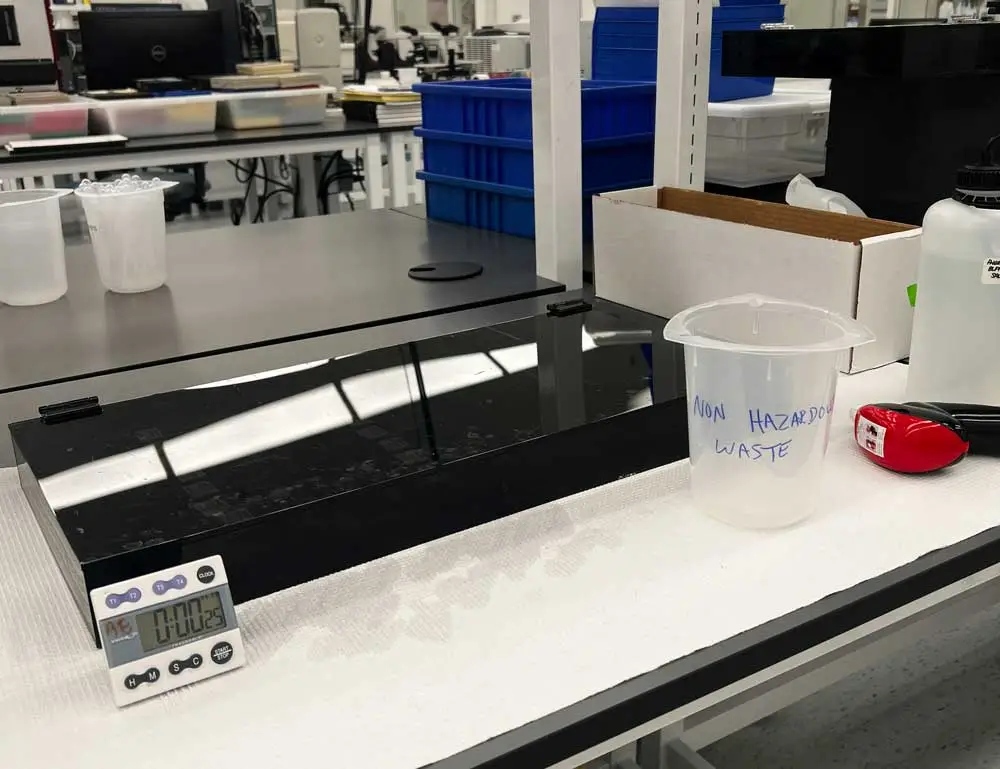
Tip: If you can, perform these steps in a dark room or without the lights on, if possible. If not, we recommend using a staining tray with a dark lid or covering your samples to reduce light exposure which can affect your fluorescence.
Tip: Tip off and dab away excess residual buffer before applying the mounting media to reduce the risk of bubbles under the coverslip.
Tip: Apply small drop volumes of approximately 25 μl (per 22 mm x 22 mm coverslip) of your mounting media to reduce excess from seeping through the edges of the coverslip.
Tip: Your slides can be viewed 30 minutes after mounting, but we recommend waiting at least 2 hours for optimal antifade performance to be achieved.
We hope this protocol walkthrough was helpful so you can get started on using the Glysite Scout Screening Glycan Kits on your own and unlocking deeper insights with glycobiology. If you are a more visual learner, be sure to watch the video below on how to use glycan screening kits. For more information on how glycobiology can impact your research, check out the Glycobiology Resources page, and stay tuned for more tips and tricks on the blog.
DyLight is a trademark of Pierce Biotechnology, Inc.




Stay in the Loop. Join Our Online Community
Together we breakthroughTM
©Vector Laboratories, Inc. 2024 All Rights Reserved.